The Tango boat was a project I didn't need, wasn't planning on but started just because I wanted to see if I could. Wherever will I store it?
For convenience I decided to line up the entire development and build of the three Tango boats. This was a quickly escalating project....
I started with some research. There are ample pictures available of the boats and their several configurations of which I built three: the landing craft, the monitor and the medivac version with the helicopter deck.
 |
| Rare colour picture of a Tango |
The next step was to find a good scale drawing and measure everything up to 1/50 scale to go with my mainly Empress Vietnam figures.

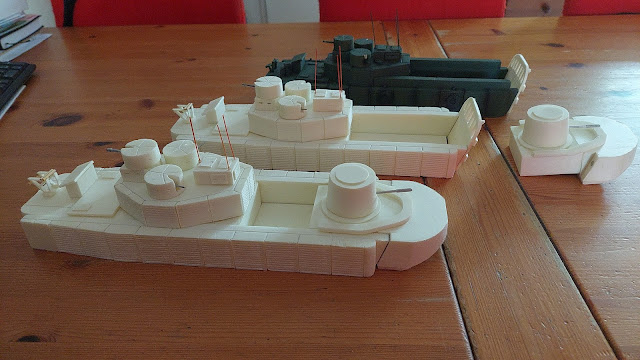
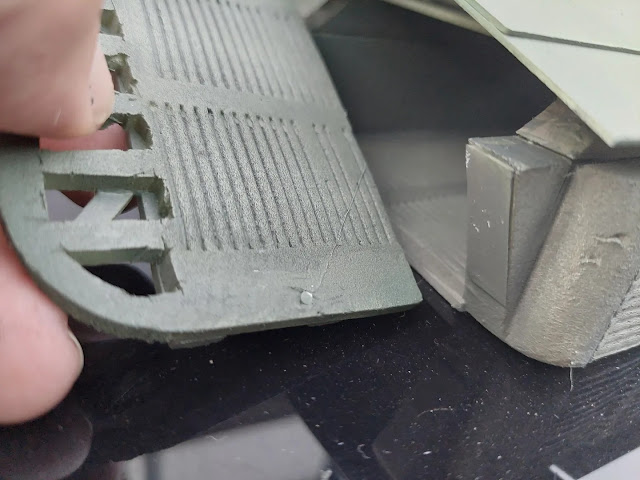
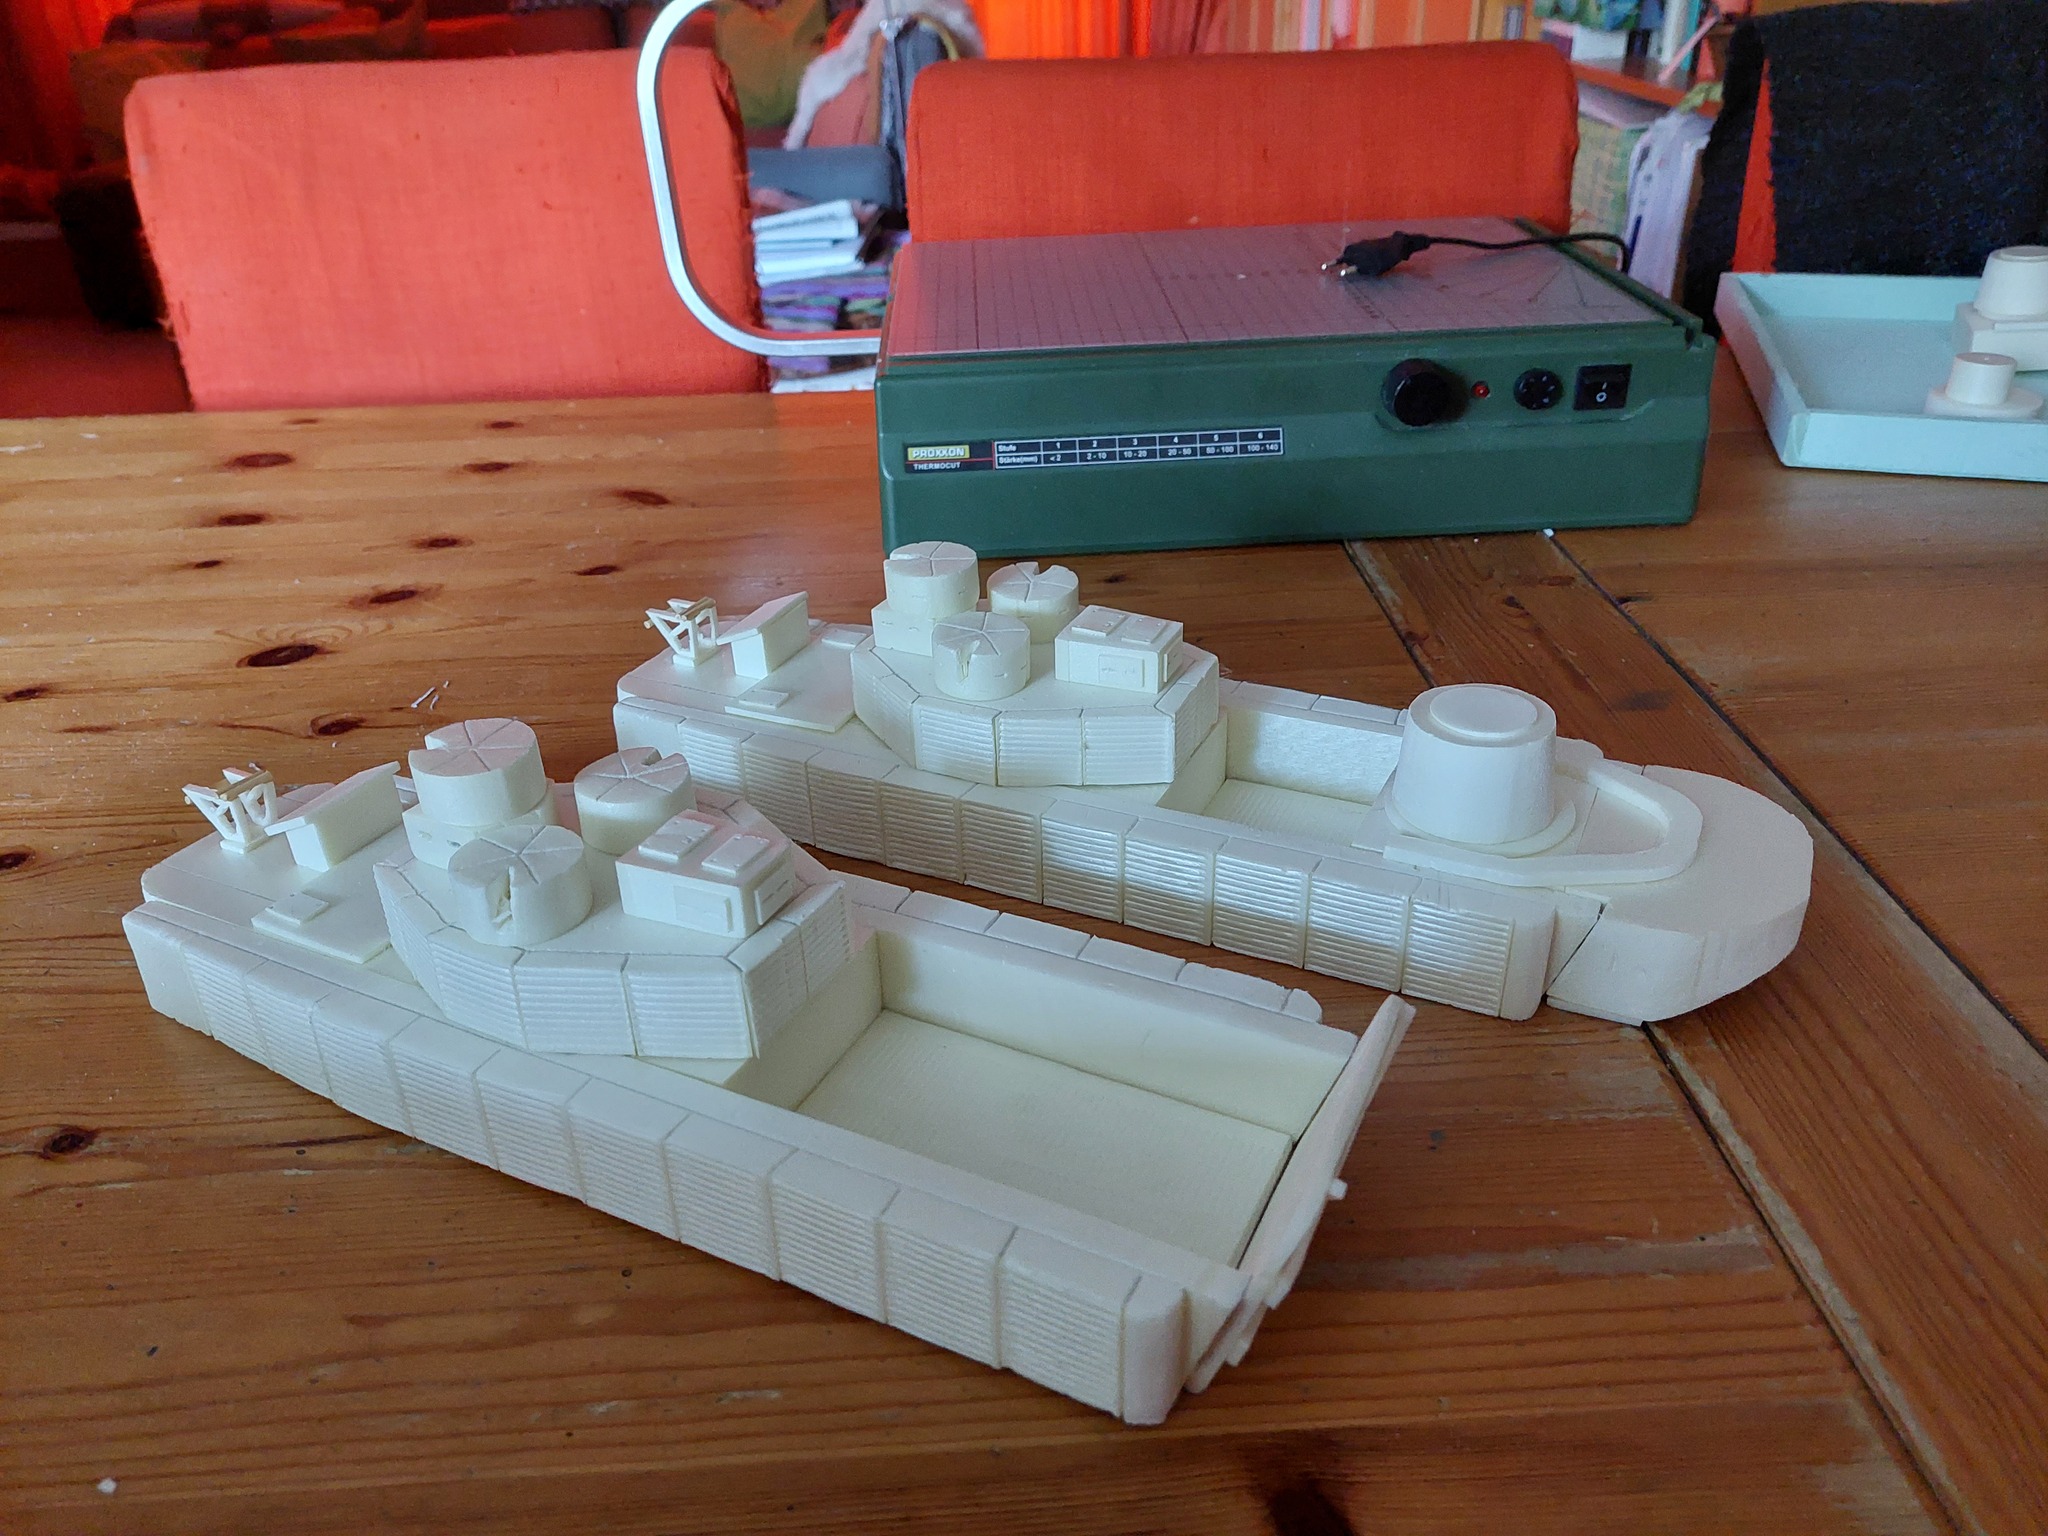
I then proceeded to divide the boat into parts I could cut from XPS styrofoam. This process is a skill in itself but let's suffice in this spot that I learned a lot from the first build.
After that, I decided to build two more with re-engineered hulls (6 in stead of 24 parts) and thought up a way to alter their function between landing craft, helicopter/medivac vessel and monitor.
I also took some liberties with the modelling. I dropped the hand railing along the sides for being to vulnerable and because it would get in the way with the figures. To facilitate easy replacement of the armoured landing craft roof and the helicopter deck I installed two ridges along the front cargo hold that weren't there in reality. But is was a sturdy and easy way to create a base for roof and heli deck, would be partly invisible in those configurations and not disturbingly present in the monitor configuration.
The wheelhouse in reality was actually a rather frail looking skeleton with armoured hatches. The roof was apparently sometimes canvas, sometimes plate. For sturdiness I decided to feature it in closed condition with a plate roof and closed hatches.
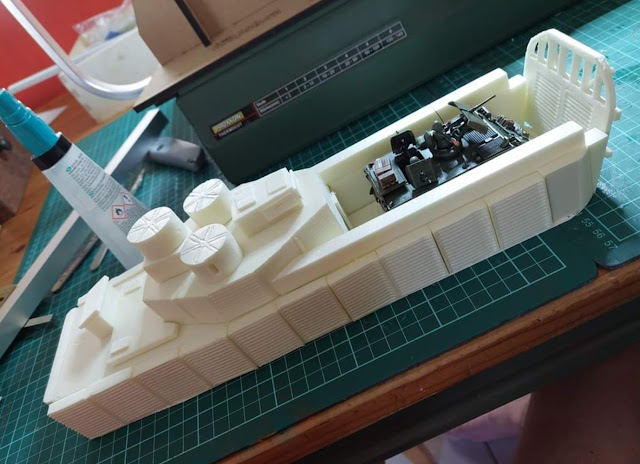 |
| The first build, fitting a 1/50 M113 in the hold. |
 |
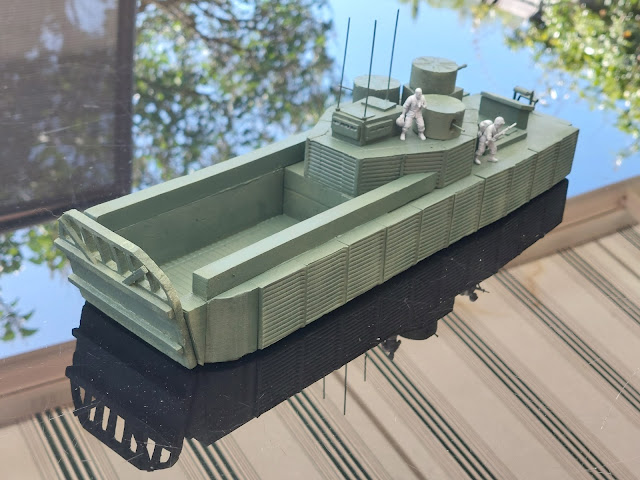
| Guns and antennae added as well as the minesweep rig on the aft deck. |
 |
| I forewent any hinges on the bay door. It closes on magnets and is simply laid in front of the ship when opened. |
 |
| First paints on the roofless hull. |
 |
| First builds of armoured roof and heli deck. |
 |
| Fittings of roof and heli deck, both too wide |
.jpg) |
| Testing the heli deck, narrowed down like it was in reality. Any landing must have been a fraught affair! |
 |
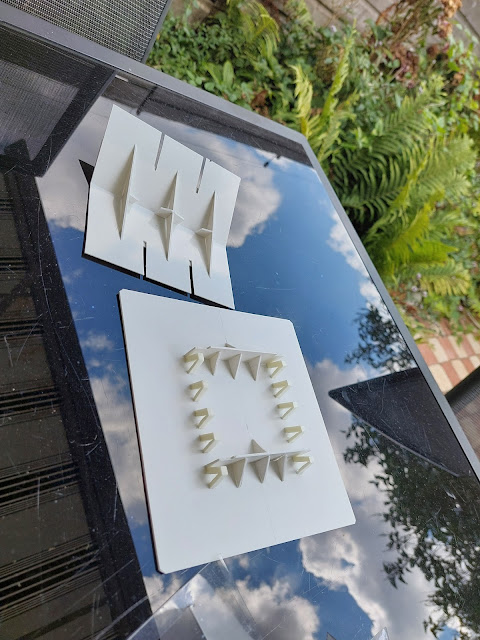
| Some bits of sanitary rings as old tyres. Later I found rubber ones. Profile still needs to be added here |
 |
| Builds of the 2nd and 3rd hull. Same sizes but simpler designs. Looks the same, but quicker to build. |
 |
| First fitting of the monitor bows, more details below. |
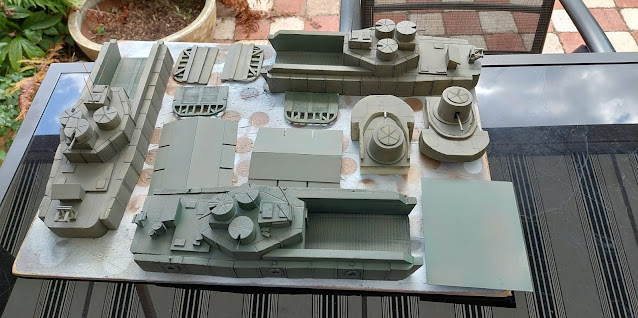 |
| Several parts during painting. |
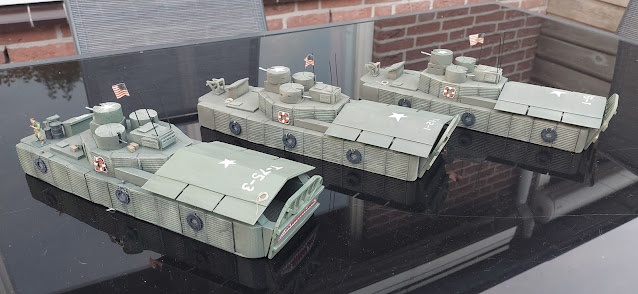 |
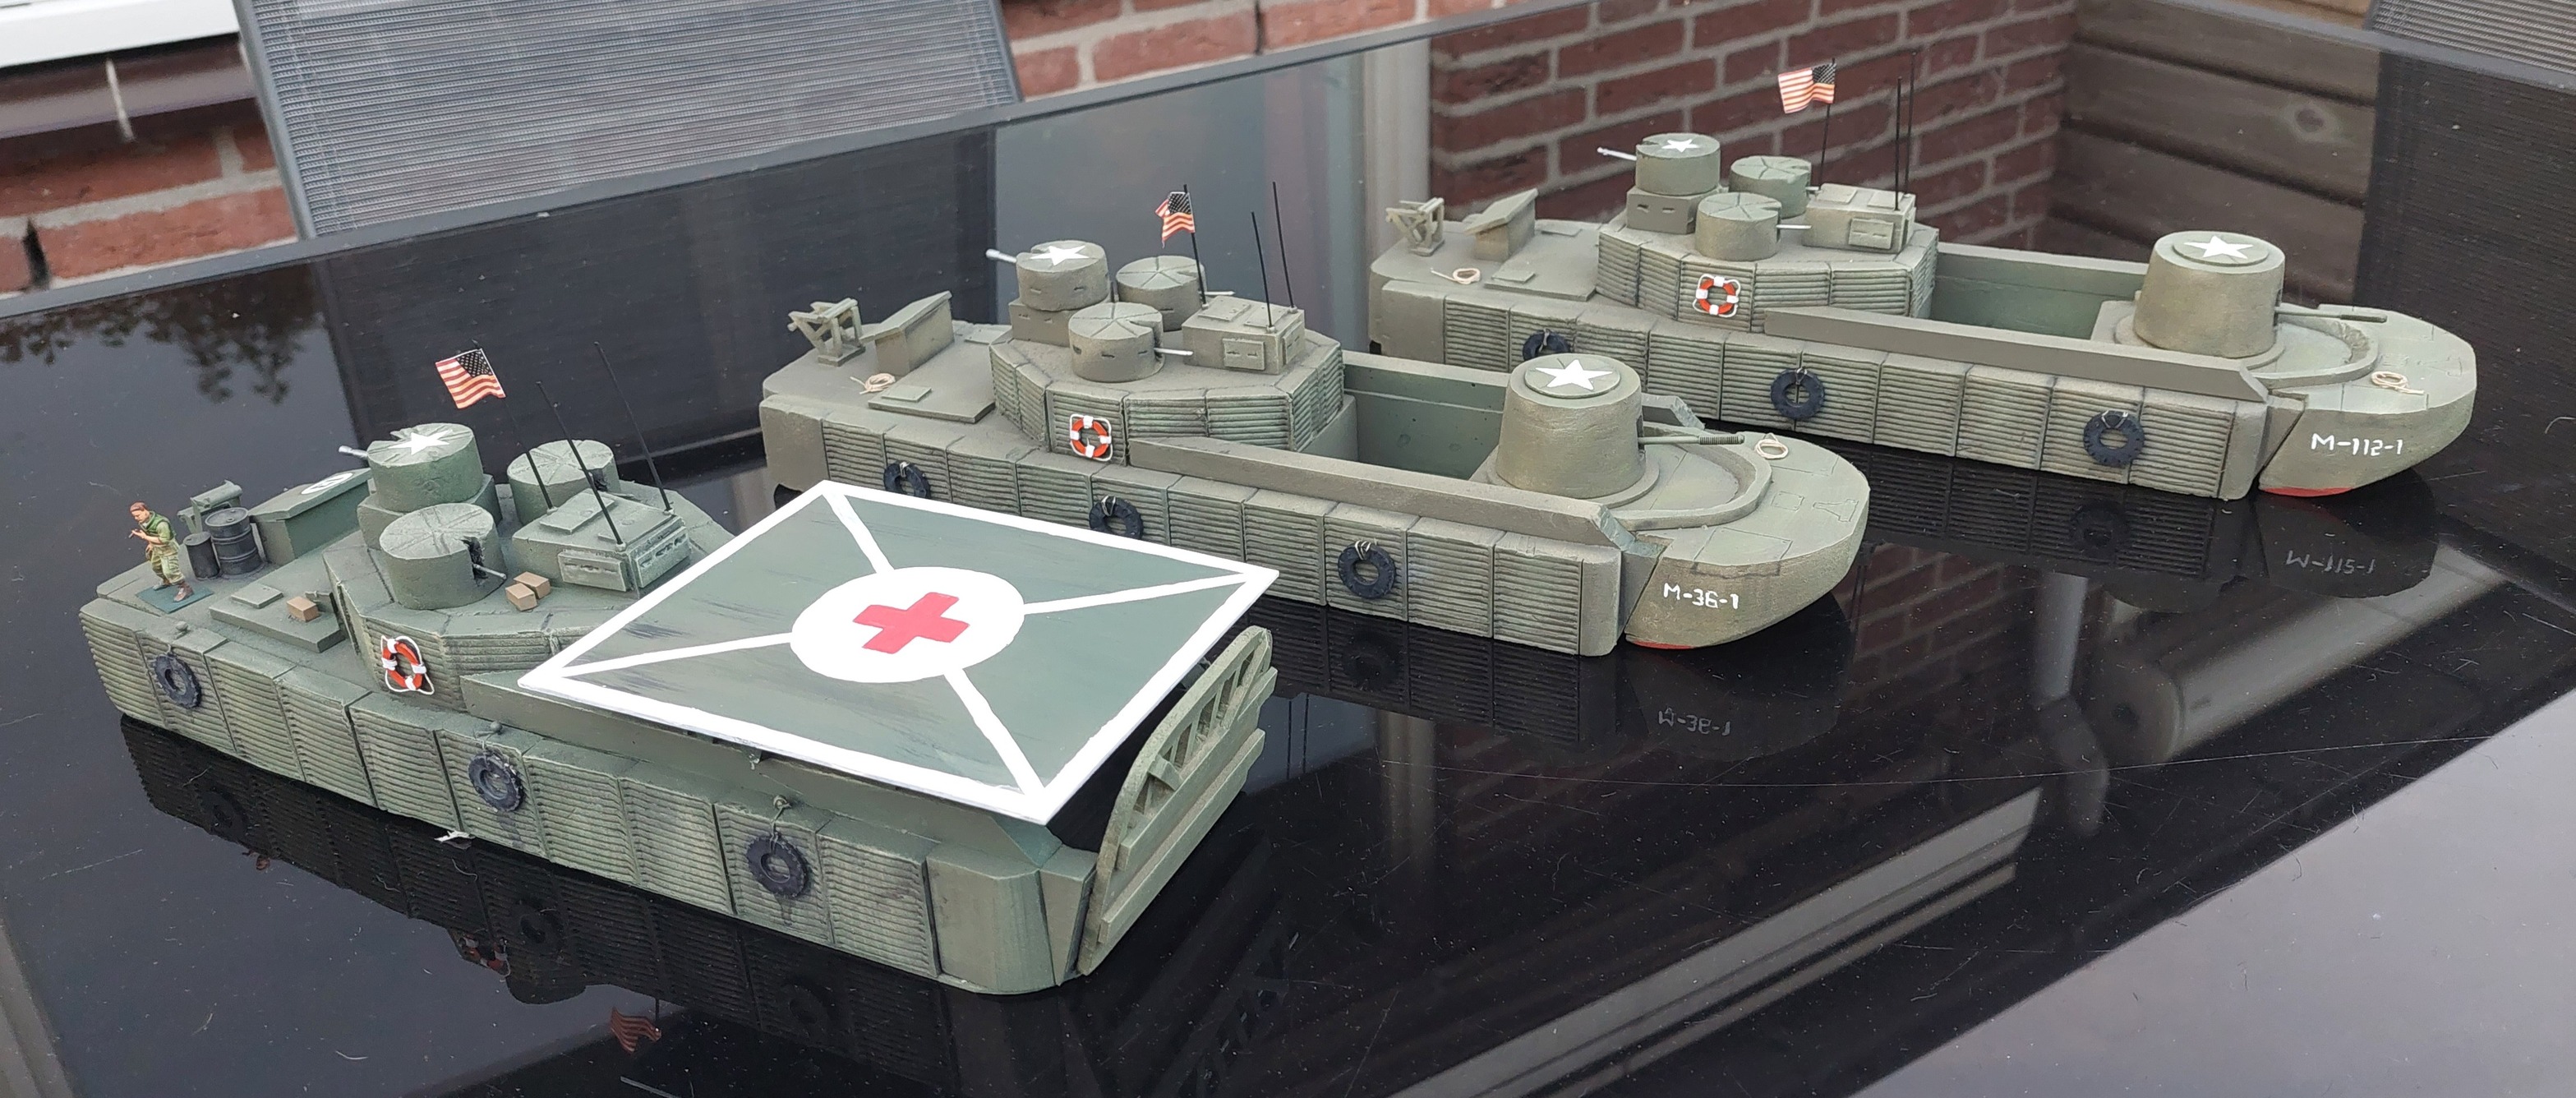
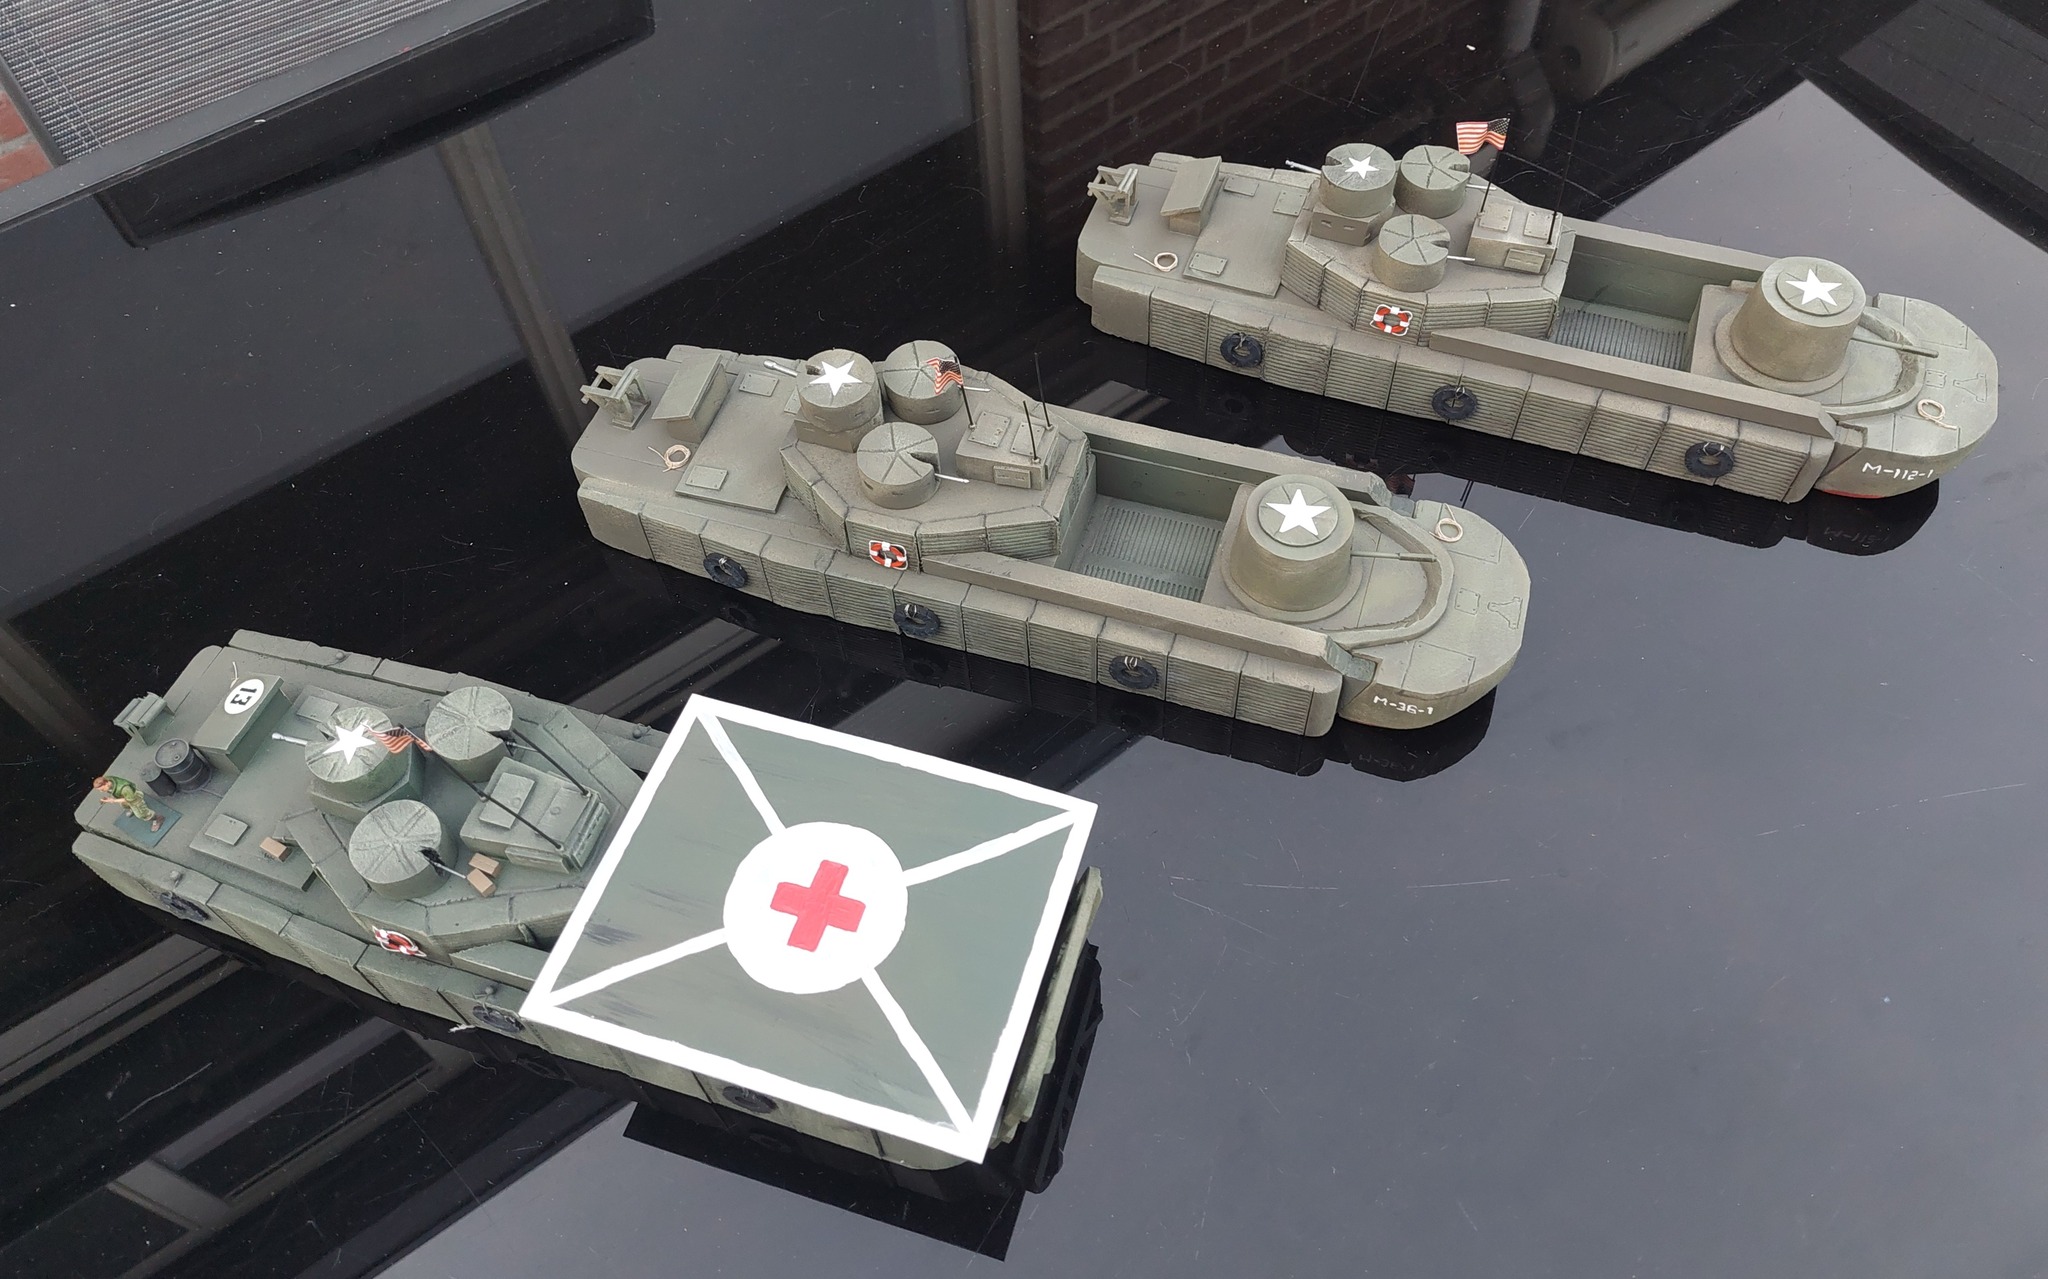
| The three hulls configured as landing craft. Details like rope, lifebuoys and stowage added. |
 |
| The magnetic fittings of the gun turrets. This is the port .50 cal turret |
 |
| The magnetic fittings in the bay door. The hull holds a small strip of metal. |
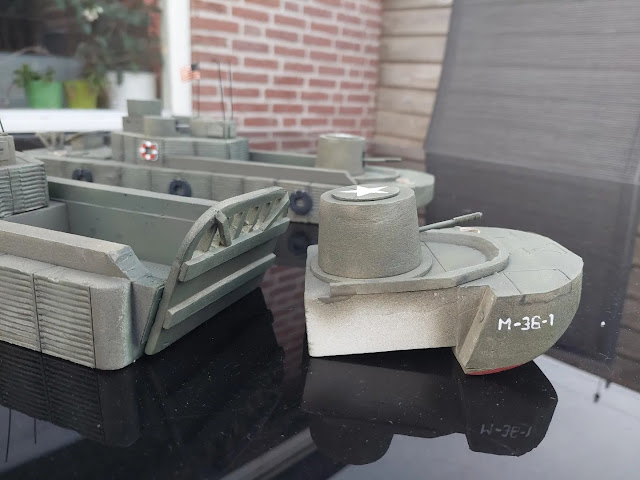 |
| The separate monitor bow next to the fitted bay door. |
 |
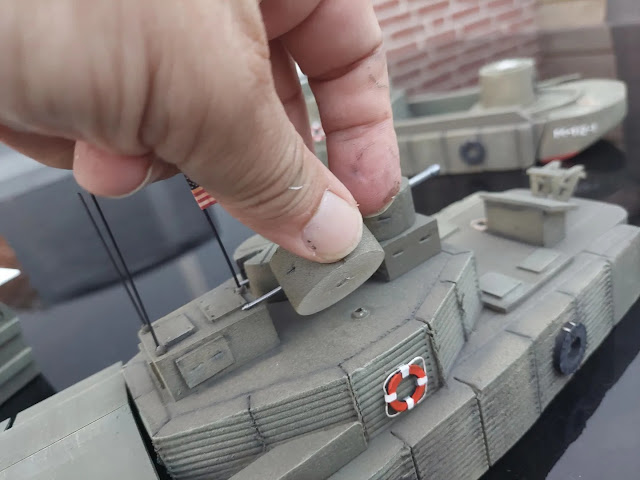
| Monitor bow before fitting. It has magnets in the left and right inside corners |
 |
| And here it slides and clicks into position. |
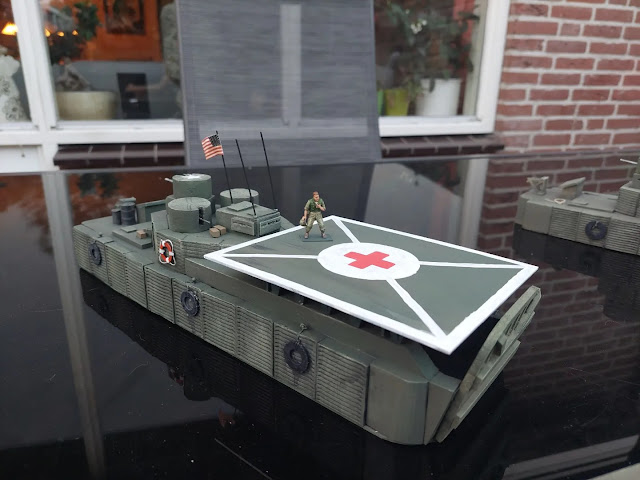 |
| The heli deck. |
 |
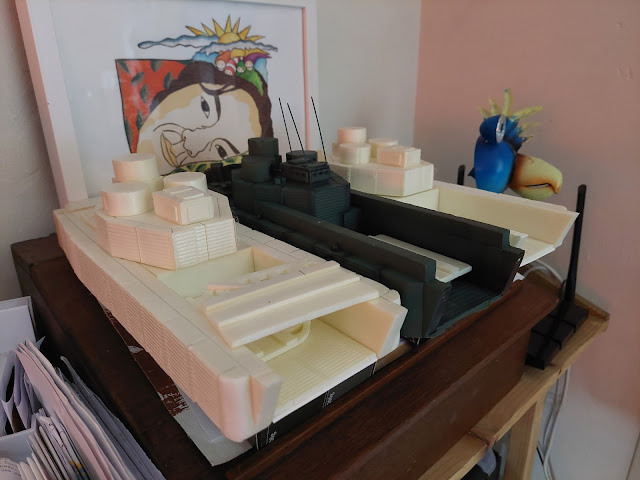
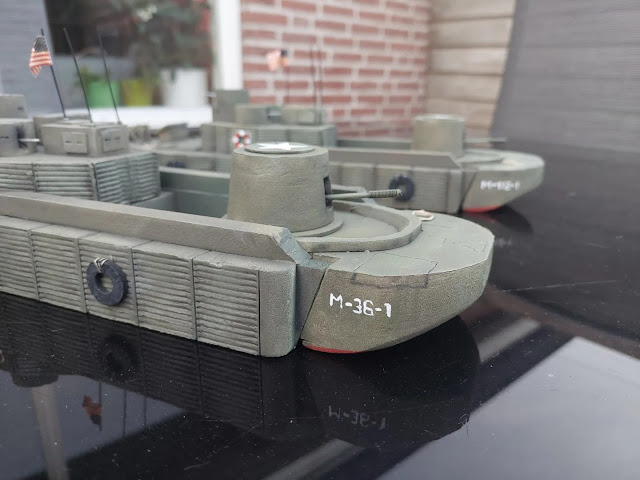
| Here are the hulls as medivac and monitor vessels. Note the mortar pit aft of the large gun turret on the monitor version. This could also hold an AAA gun or a grenade launcher. |
They seem ready to hit the Mekong river.


_in_Vietnam_c1968.jpg)


.jpg)