So I designed a double blind map game with a game leader to facilitate a strategic pre-game of maneuvering the fleets without the admirals -like in reality- knowing where exactly the enemy fleet would be. And some 10 years later , not coincidentally in the 100th anniversary year of the battle, we managed to play it.
Due to the fleet sizes we played with two teams of 3-4 players and a game leader (myself). Both teams got the historical fleets and mission objectives (destroy significant parts of the enemy fleet, bombard the English coast) and their historical points of origin (the Grand Fleet starting from two locations). We also added some factors that historically didn't do anything, like the Southern squadron guarding the Channel including HMS Dreadnought and the "Wobbly Eight".
After a tense 60-90 minutes of maneuver the outcome turned out to be rather historical. Beatty and his battlecruisers (this time accompanied by the Queen Elizabeth battleships) ran into the entire German fleet.
After a fierce running battle the British withdrew under the cover of the Grand Fleet with heavy damage, losing HMS Warspite and some cruisers and torpedo boats. Satisfied, the Germans refused to take the bait and returned to Wilhelsmhafen to celebrate!
In the meantime, the German "old squadron" of pre-dreadnought battleships steamed towards the Southern British coast for a bombardment. Would they encounter Dreadnought and the Wobbly Eight? We lacked the time to play that one out. Perhaps next time?
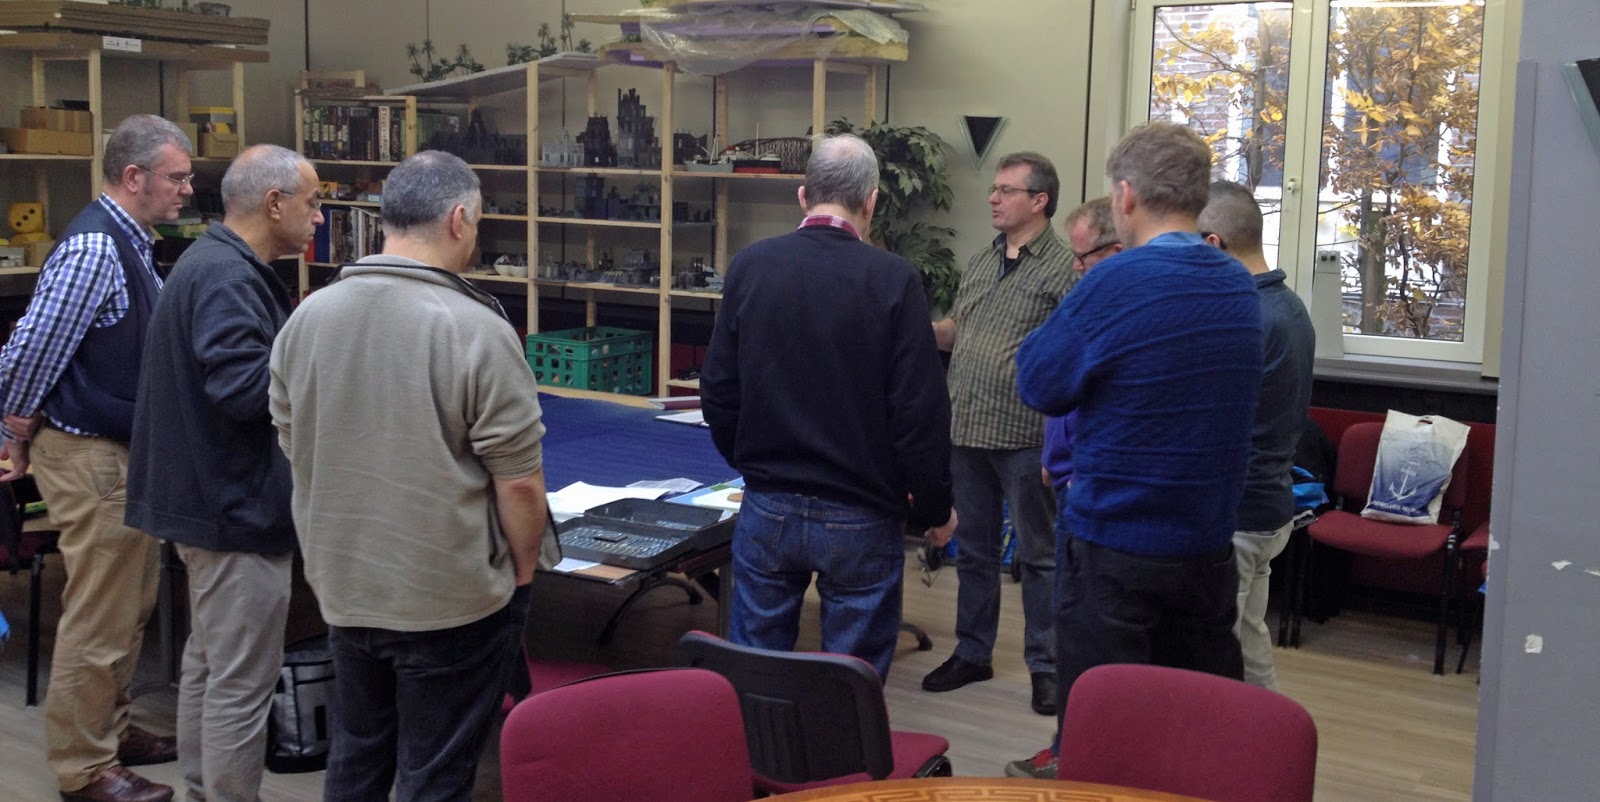
Some pictures to convey the game and athmosphere.

Me explaining the outcome.

The British map. Note the pins depicting presumed German positions.


The German Admiral staff in full swing. There is some mistrust directed against the photographer apparently....


The British admirals plotting their course.

The Master map at the point of contact. The lower black flags are the German pre-dreadnoughts heading for their coastal bombardment (unknown to the British). The lower red flag is Dreadnought and the Wobbly Eight (unknown to the Germans). The black pins are German submarines. The white pins are German airships. Their observations -possible due to the better-than-historical weather- proved vital to the Germans.
The black flags in center are the High Seas Fleet, at that moment coming into view of Beatty's battlecruisers.
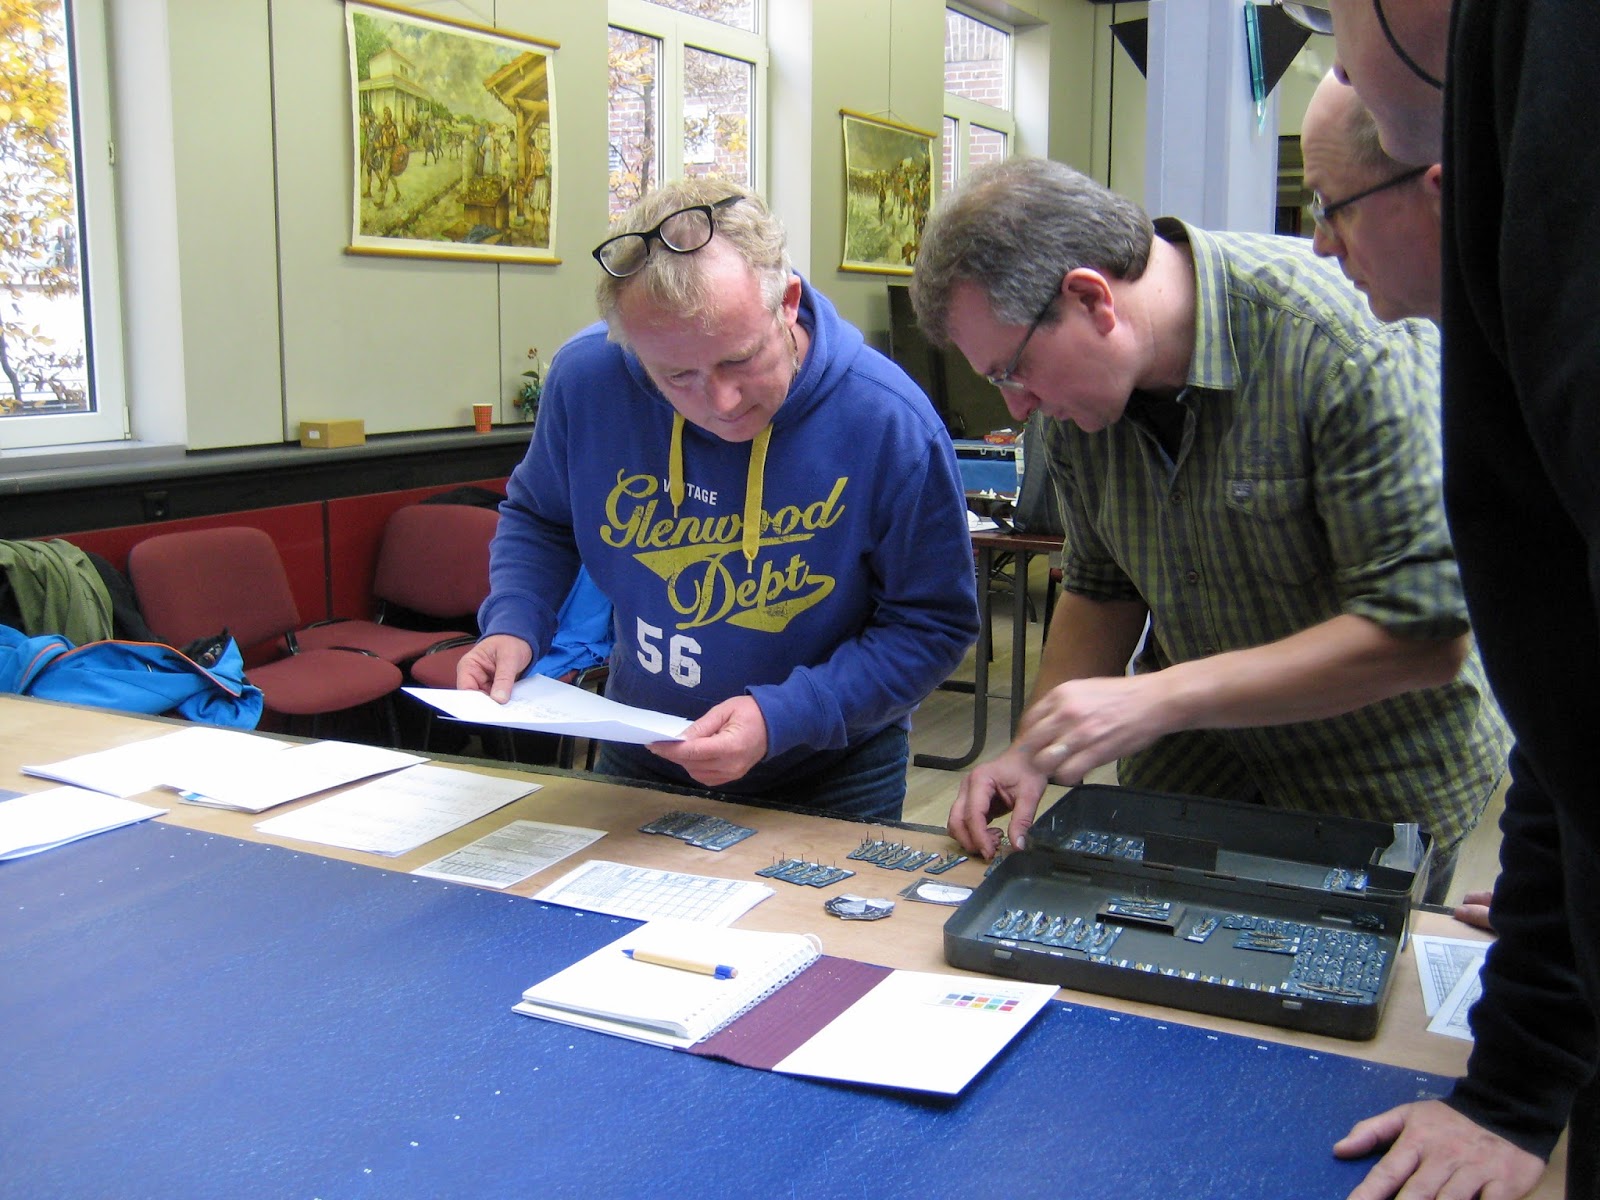
We then transferred the game onto the table. Lotsa li'l boats....


My pride and scratchbuilt High Seas Fleet.


The North Sea

The Master map after a few gaming hours. The red Grand fleet has left harbour and is joining up. The black High Seas fleet has just split off the pre-dreadnoughts and is setting course for the central North Sea, seeking an engagement.
Below, Dreadnought and the Wobbly Eight are guarding the Thames Estuary.


Beautiful maneuvering on both sides, Germans below, Beatty at the far end, tryingfrantically to get away.


At some point, it was clear that Beatty would manage to get away and the Germans were loath to pursue, knowing the Grand Fleet to be there somewhere. So I called it a day and determined a tactical German victory based on relative losses. Nevertheless, the Germans lost Lutzow and the fate of the pre-dreadnoughts remained uncertain.
 |
| Bijschrift toevoegen |
